攻略その3
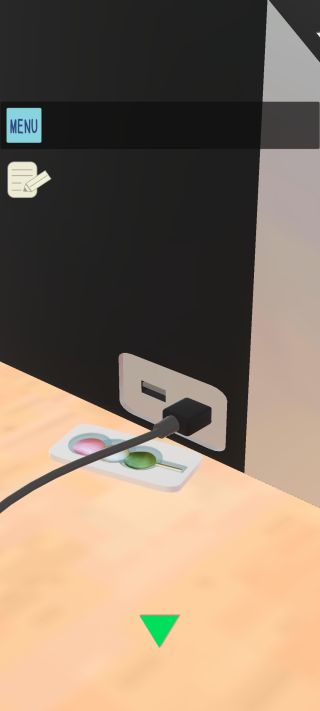
右側面のUSBポートを拡大して、「ケーブル」を繋げる。

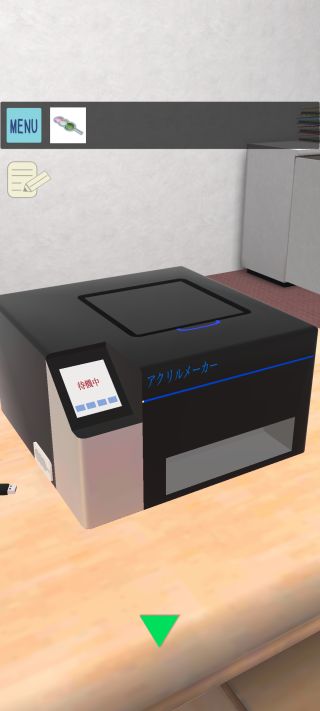
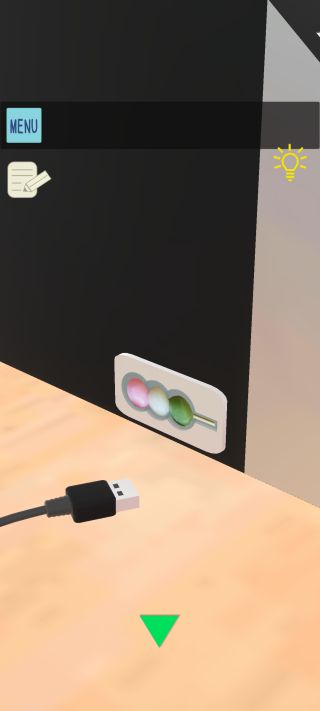
右のアクリルメーカーの左下を調べる。
「アクリル製の団子」を使って、ケーブルを繋げる。
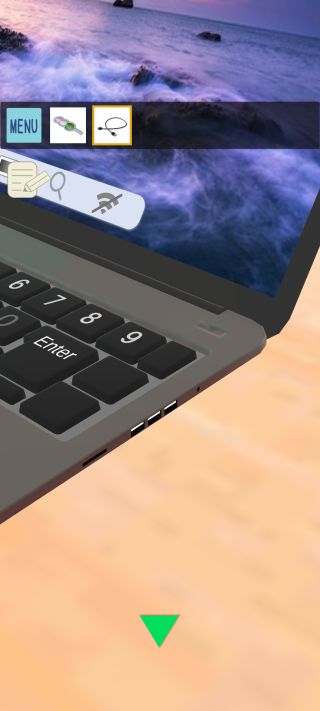
ノートPCを拡大。
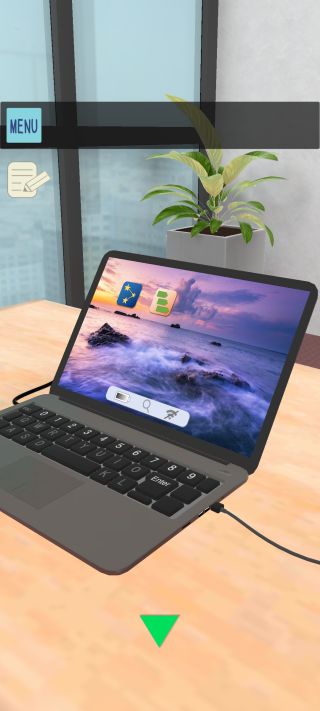

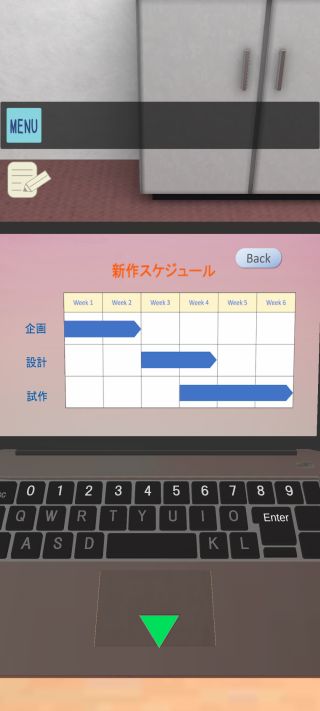
右のファイルを開いて、スケジュールの青い線の配置を確認。
戻って左のファイルを開く。

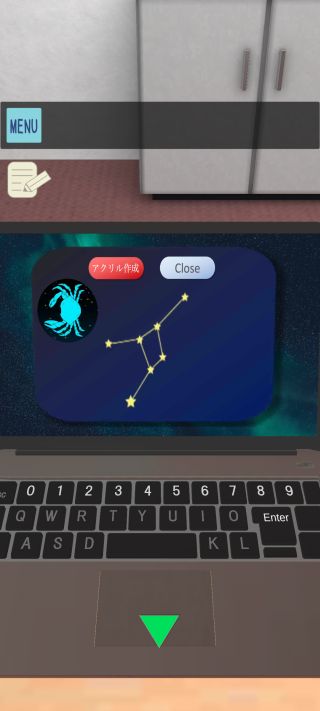
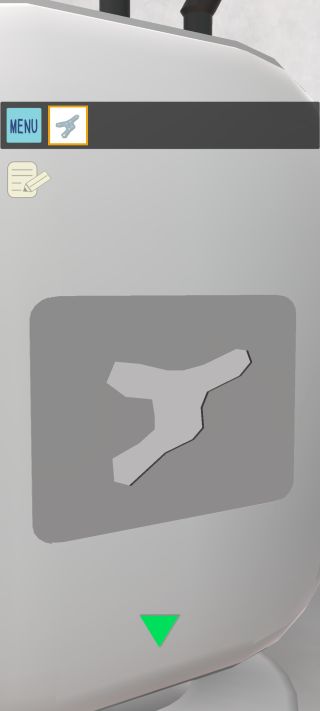
先ほどのWi-Fiルーターの側面の形の星座を選択して、『アクリル作成』を押す。
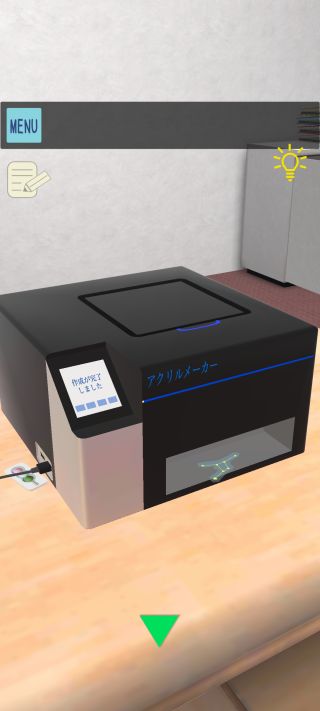
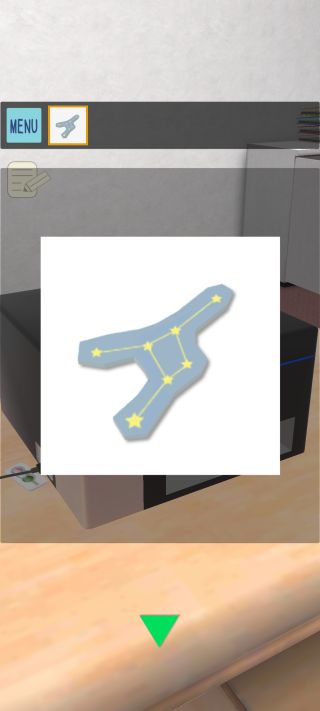
「アクリル製の星座」を入手して、反対側に移動。
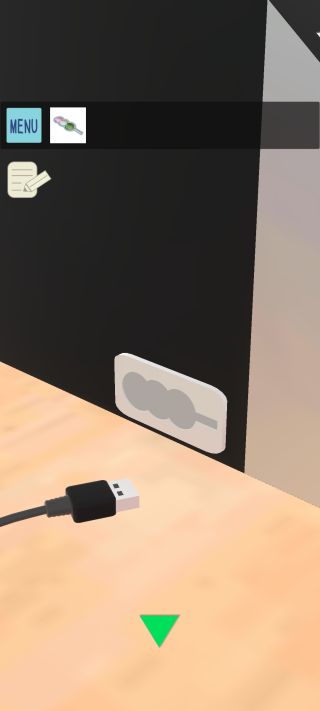
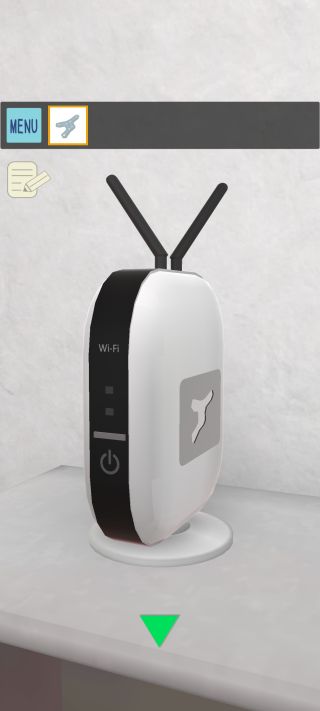
Wi-Fiルーターの側面を拡大。
右側面のUSBポートを拡大して、「ケーブル」を繋げる。
右のアクリルメーカーの左下を調べる。
「アクリル製の団子」を使って、ケーブルを繋げる。
ノートPCを拡大。
右のファイルを開いて、スケジュールの青い線の配置を確認。
戻って左のファイルを開く。
先ほどのWi-Fiルーターの側面の形の星座を選択して、『アクリル作成』を押す。
「アクリル製の星座」を入手して、反対側に移動。
Wi-Fiルーターの側面を拡大。